

If you have lost access to the email linked to your Business Manager and Facebook requires immediate verification — we have a solution! Use the step-by-step guide below to change the email and complete the verification process.
Attention! This material is provided for informational purposes only and is not an official Facebook instruction regarding the document-based verification of a Business Manager account.
Remove the “Verification Needed” window using code
Facebook does not allow you to close or collapse the verification request window. However, you can bypass it by removing the element through the page code.

Right-click anywhere on the screen. Then select “Inspect”.
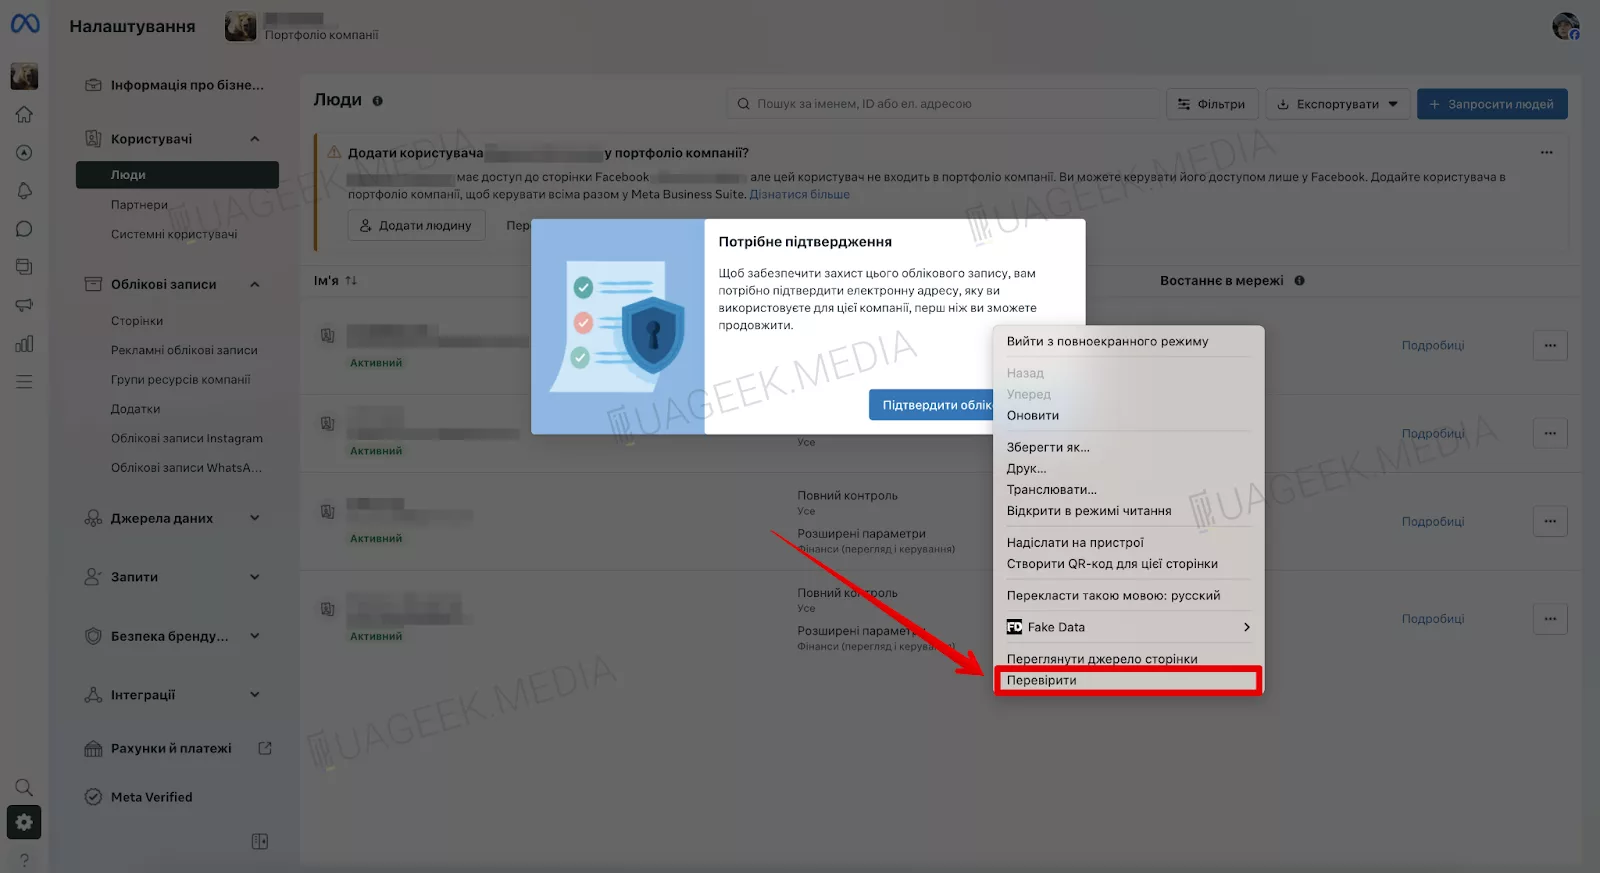
Use the search function in the console to locate the required block. Inside it, you will find the element: <div data-visualcompletion=”ignore”>.
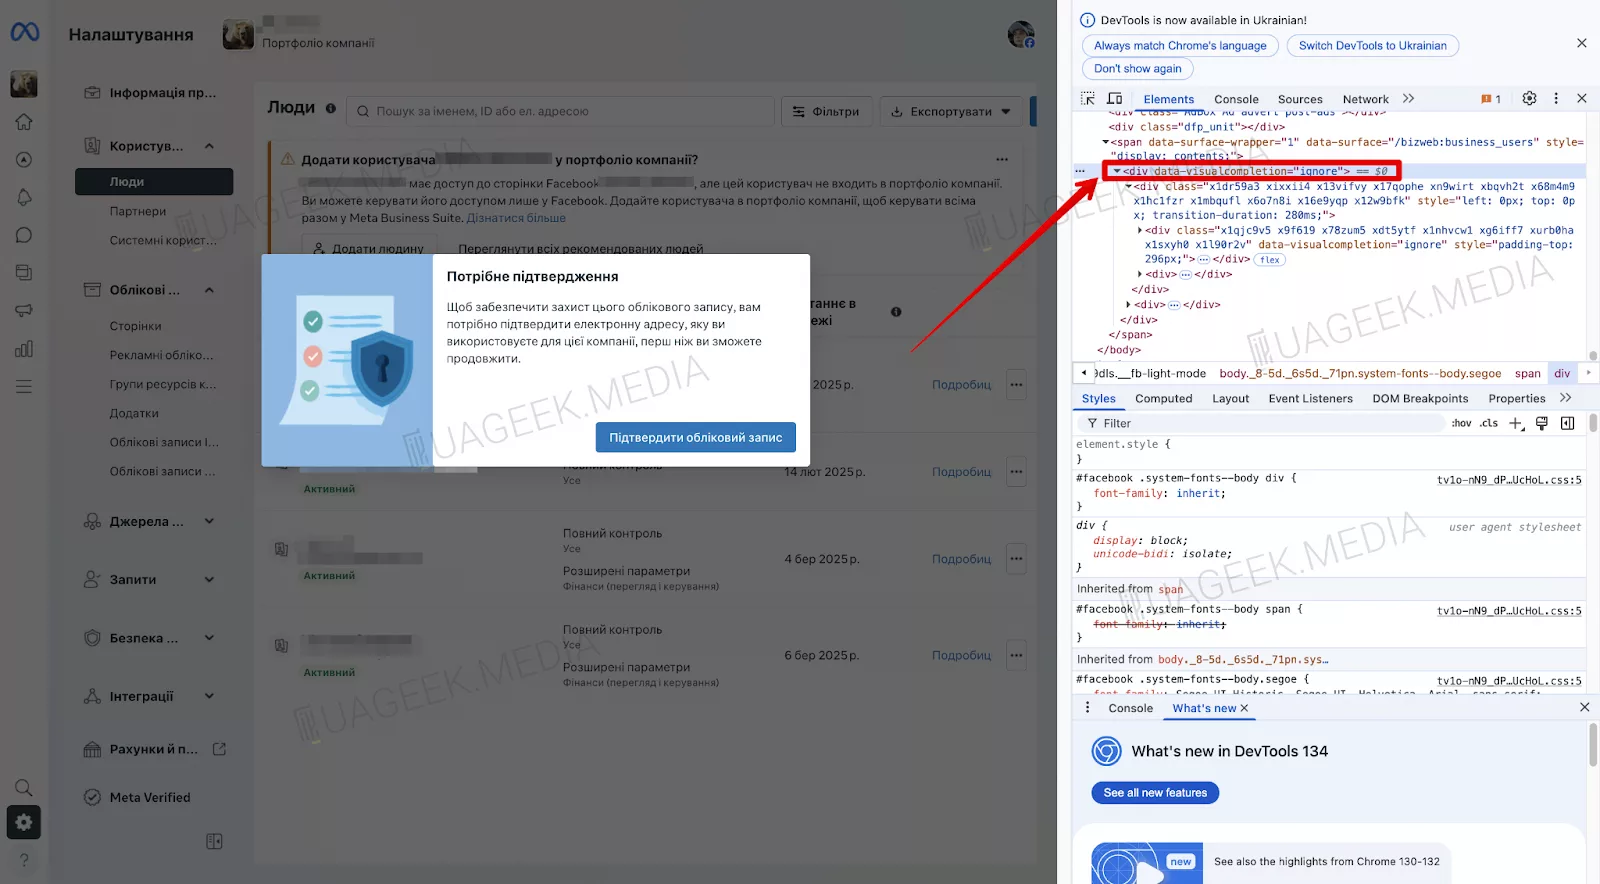
Delete this block by pressing the “Delete” key on your keyboard. After that, you can safely close the console and proceed to the next stage — changing the email in BM.
Change the email in Business Manager
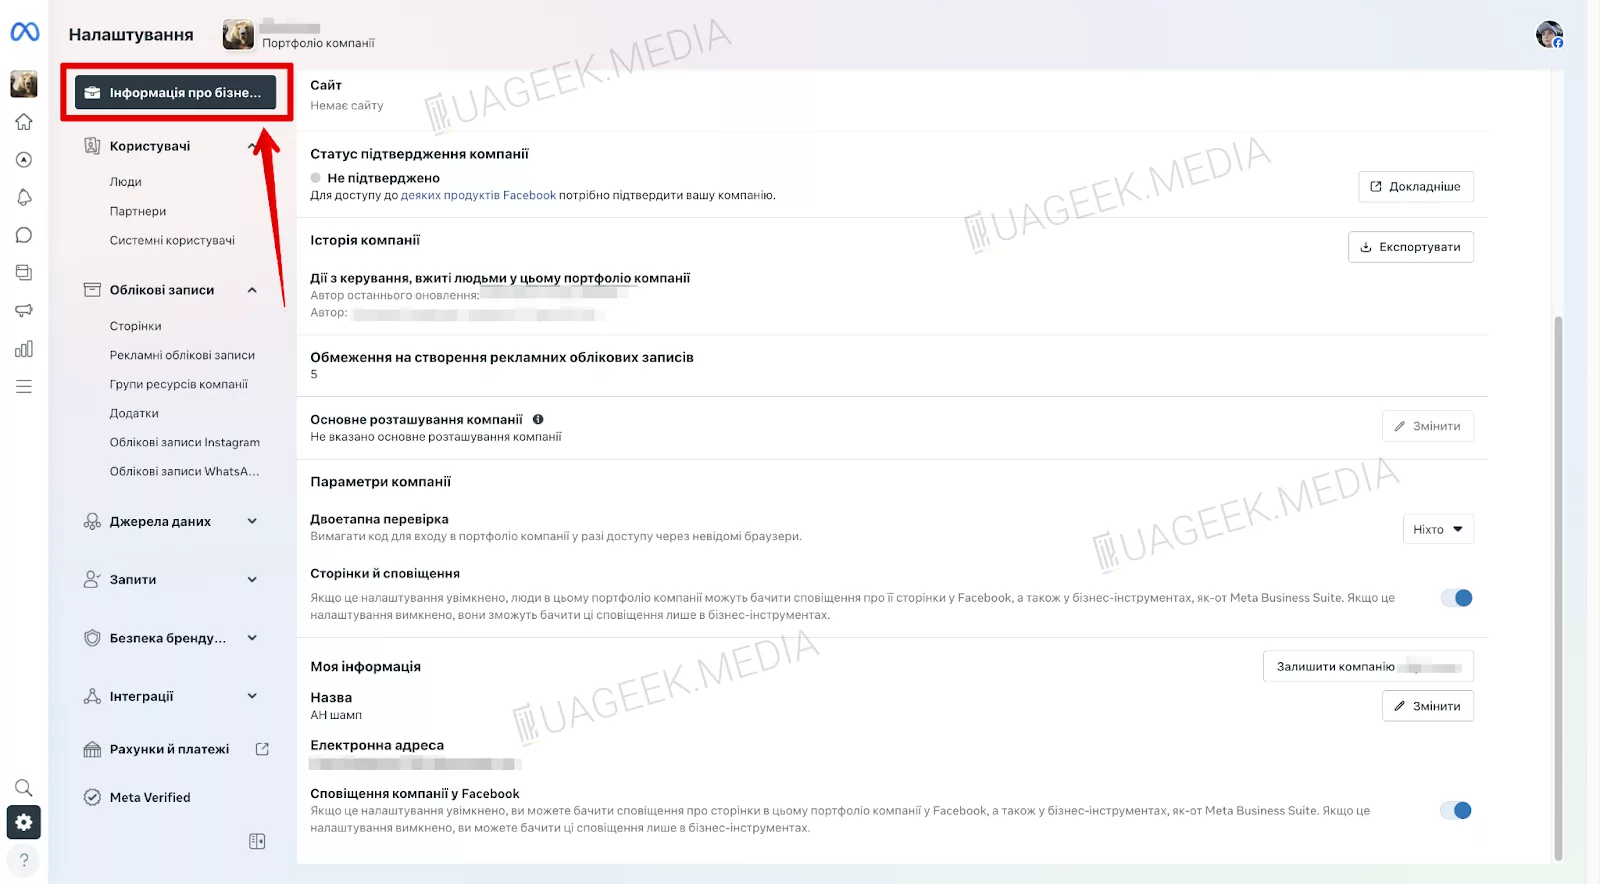
- Go to the “Business Portfolio Information” section.
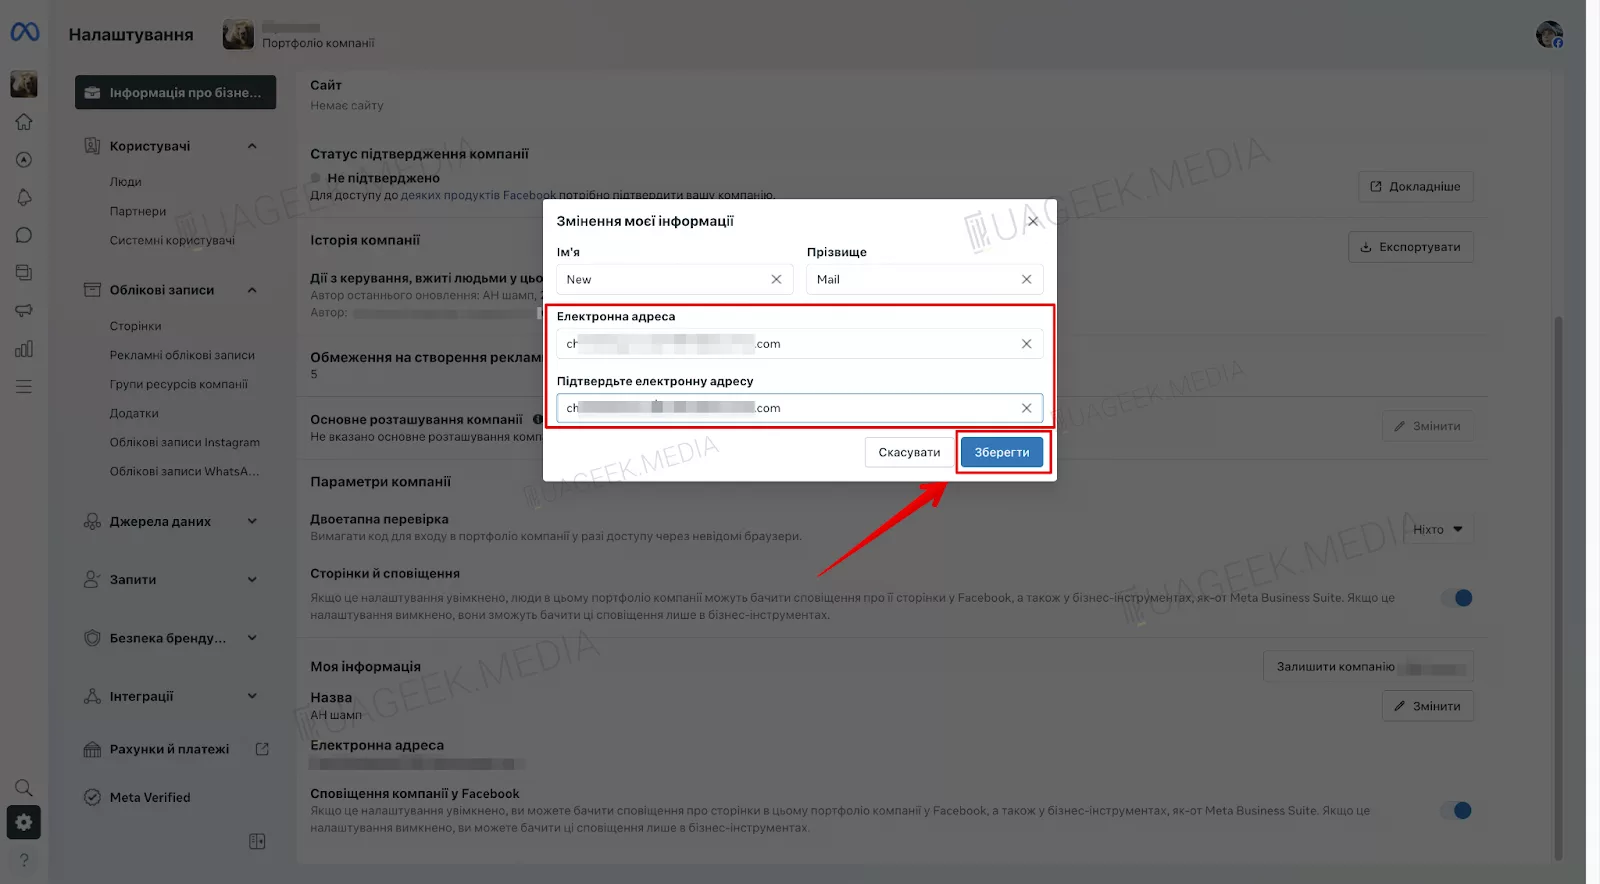
- Click “Edit” to enter the new email address.
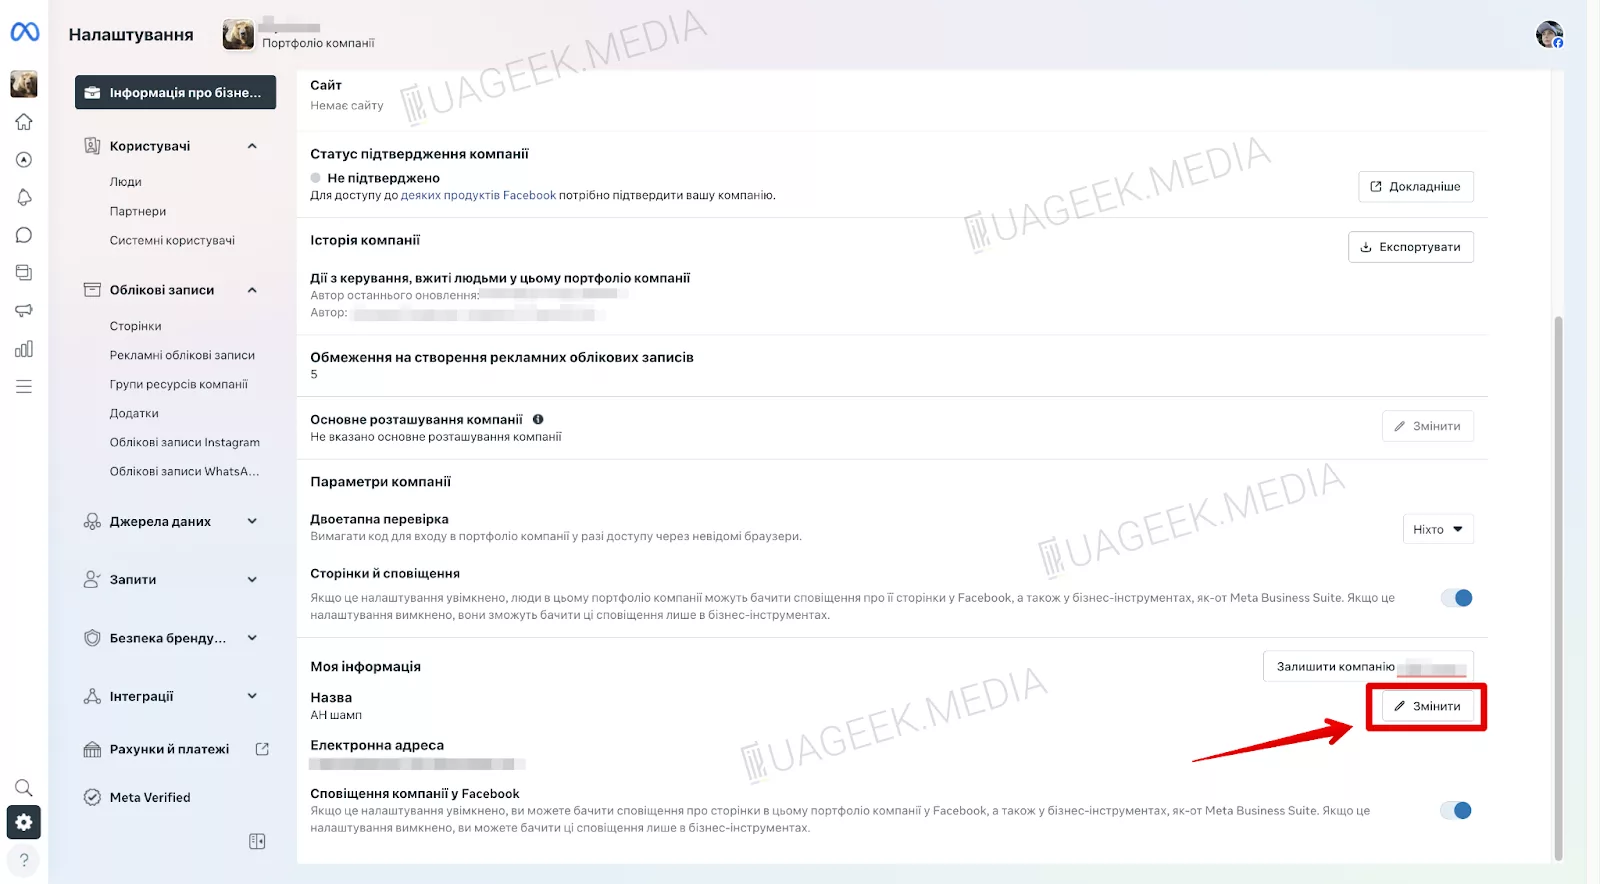
- Enter the new email address and save the changes.
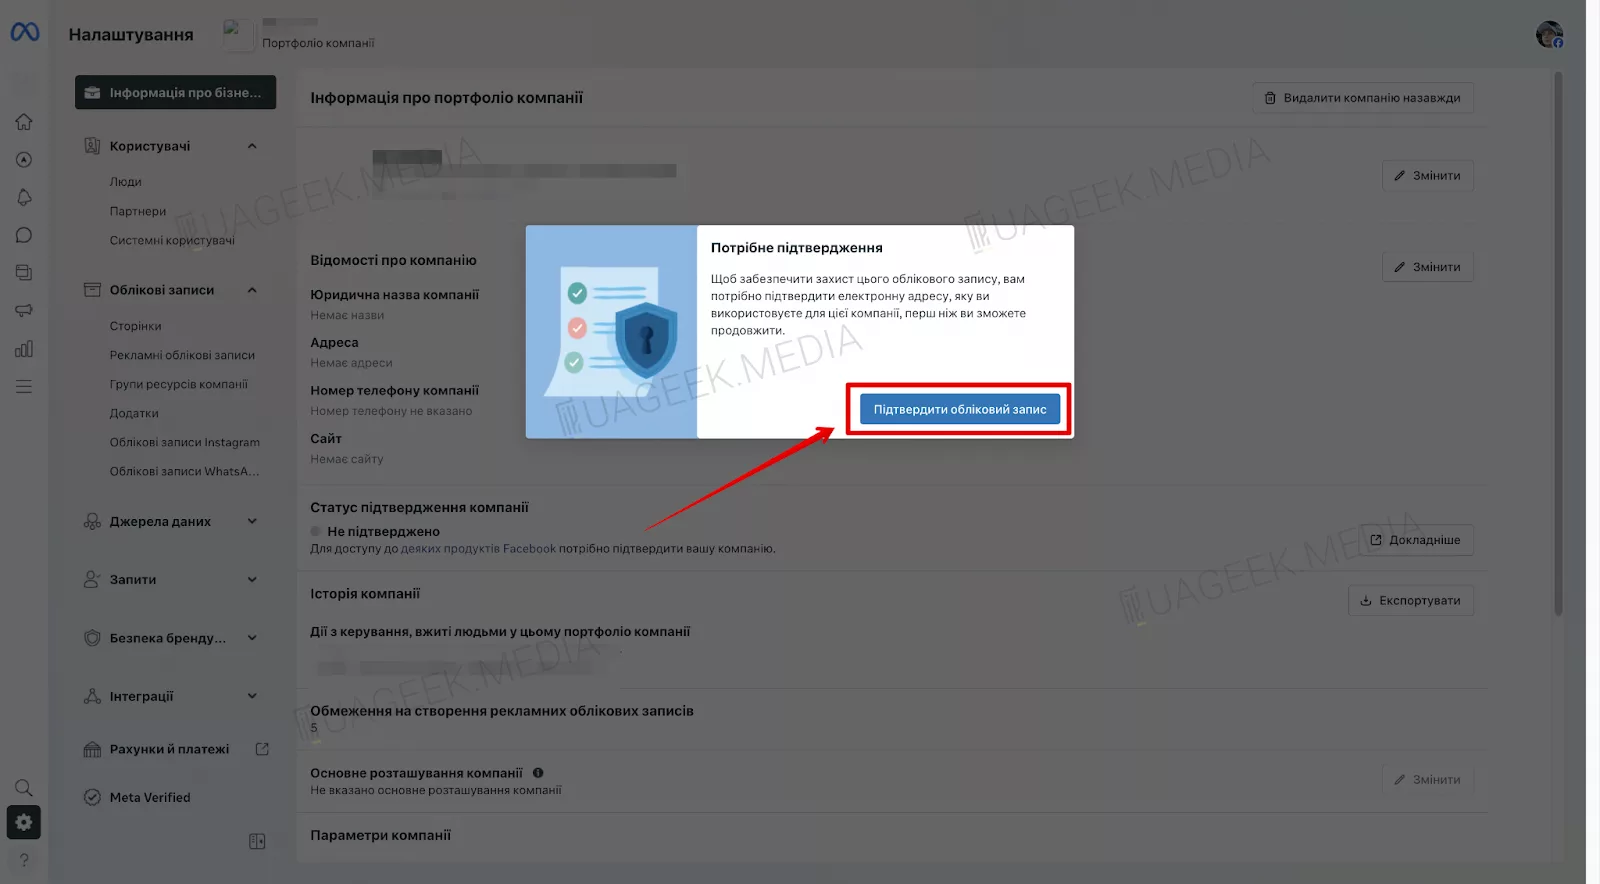
- Refresh the page and click “Confirm Account”.
Important! Make sure the displayed email is correct — this is where Facebook will send the verification code.
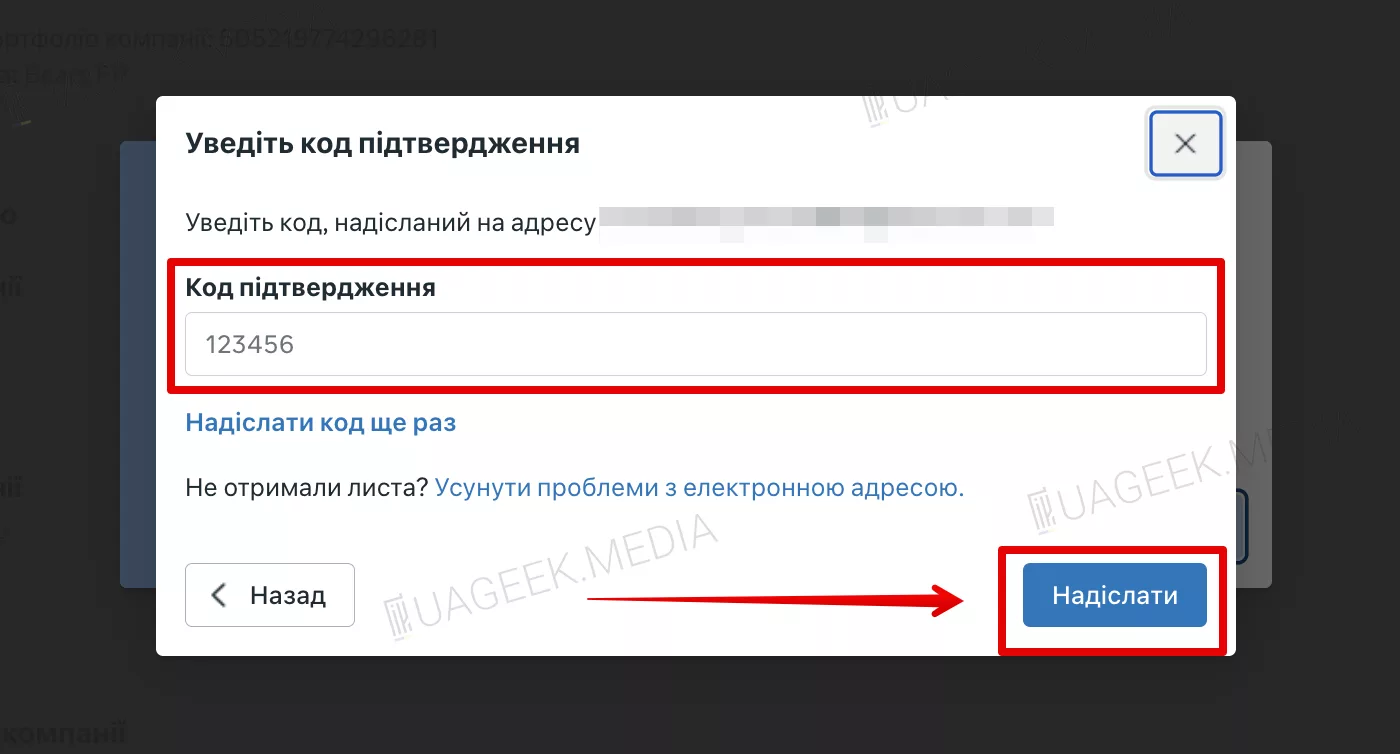
- Enter the verification code that will be sent to the new email. Click “Submit” to complete verification.
All done! Even if you no longer have access to your old email, you still have the ability to change it, complete verification, and regain control of your Facebook Business Manager.