

When you launch advertising on Facebook, it is important not just to get clicks, but to understand what happens next. Did the user complete a purchase? Did they submit a form? To avoid working blindly, you need to properly set up the Facebook Pixel and the Conversion API.
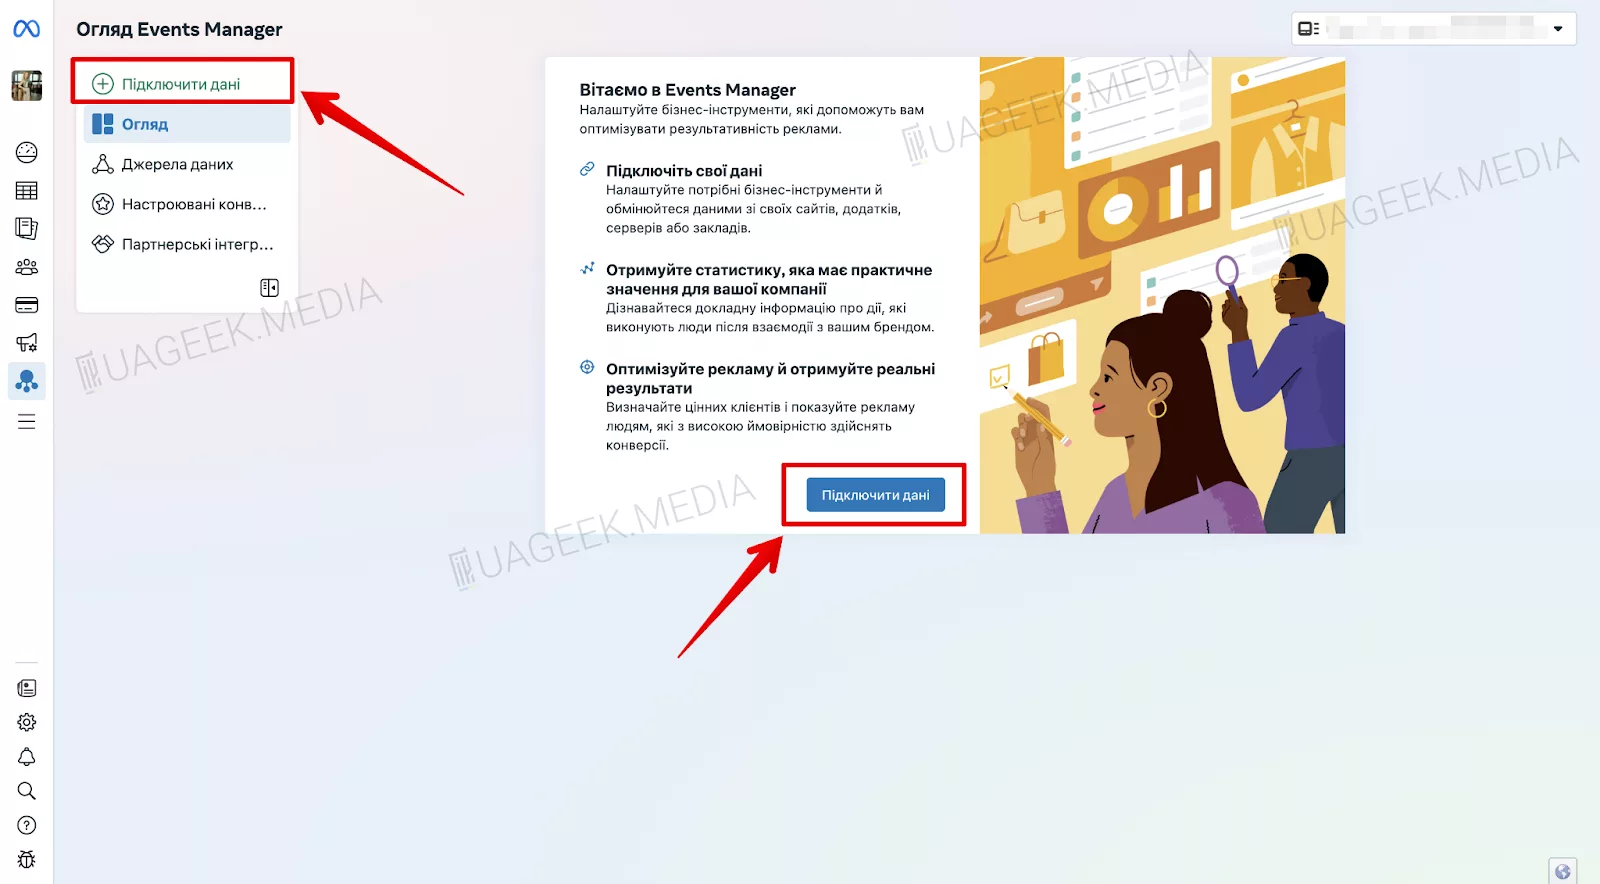
Step 1: Open Events Manager

Step 2: Add a data source
In the menu, look for the “Connect data” button. Facebook needs to know where the data will come from.
Step 3: Choose the connection type

Step 4: Create a new dataset

Step 5: Choose the setup method

Step 6: Select events to track

It is recommended to select:
- Add to cart — when a user adds a product to the cart
- Purchase — when the purchase is successfully completed
Why these events?
Because they allow you to analyze how advertising affects sales or the number of registrations.
Step 7: Configure events

Step 8: Final settings
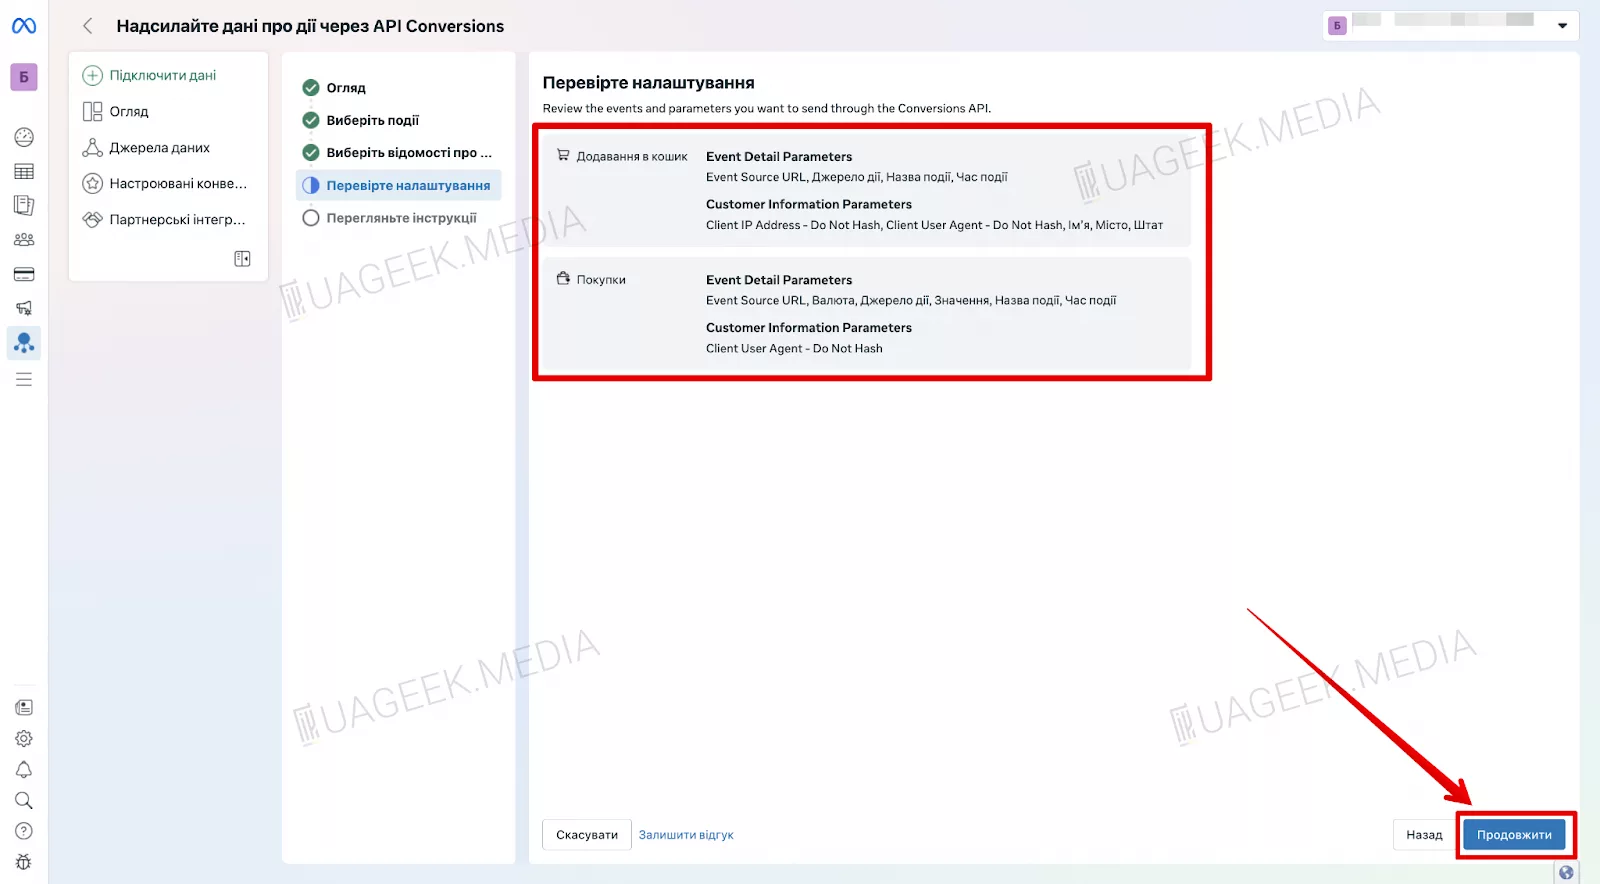
Review all entered parameters. If everything is correct, click “Continue”.
Step 9: Complete the integration
